
Dress Shirt How To Measure
A practical step-by-step guide to dress shirt how to measure, including preparation, instructions, common issues, tips, and next steps.
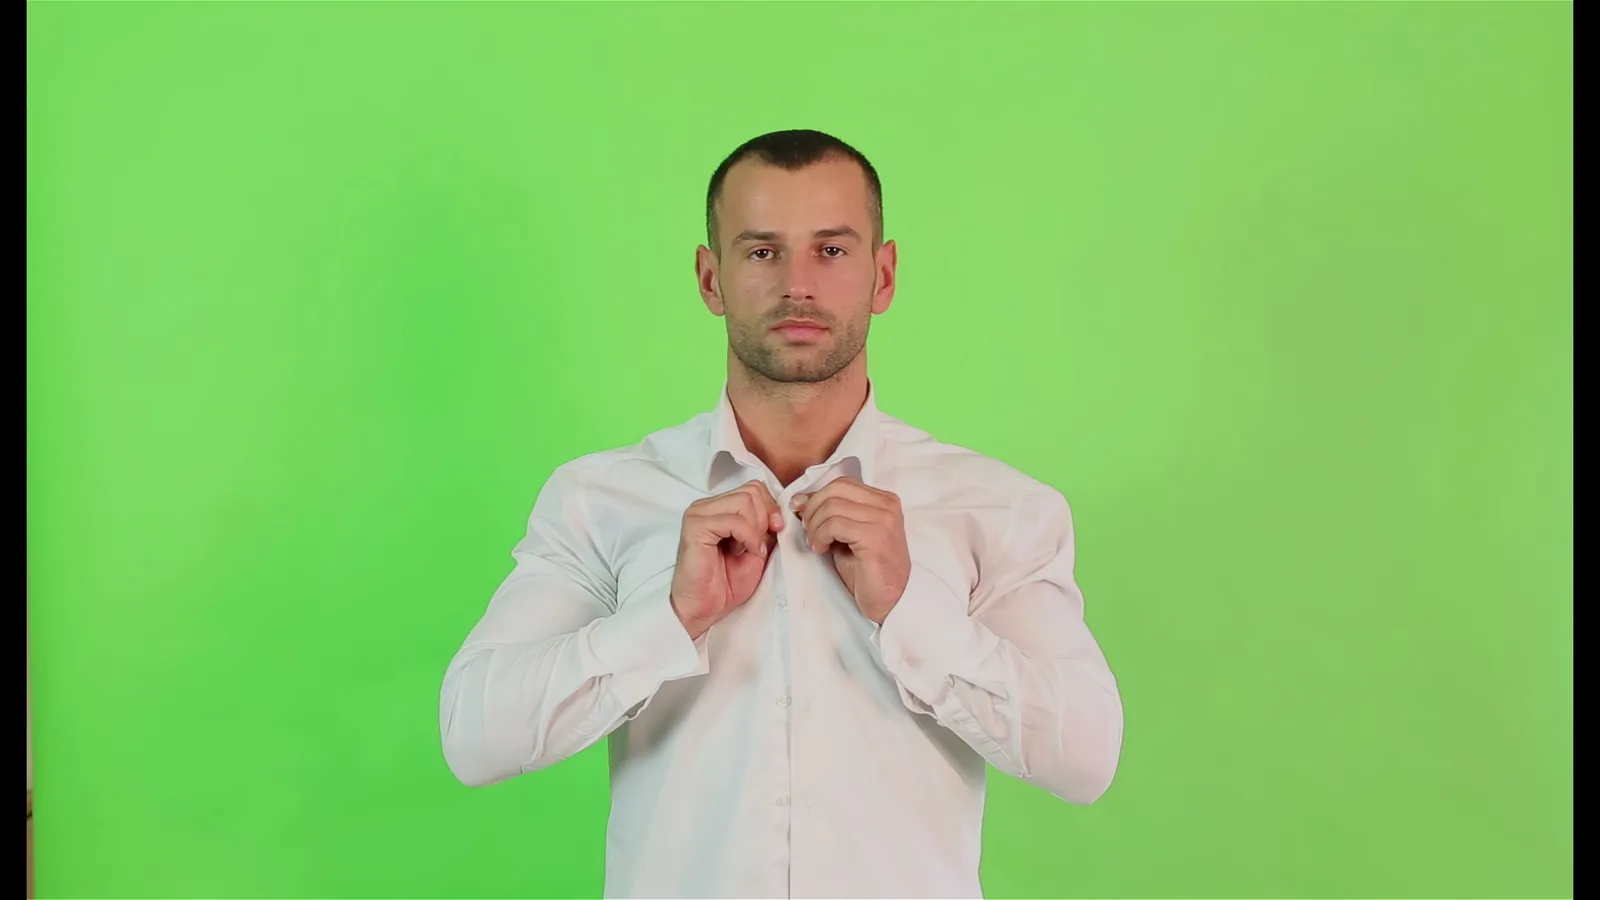
Learning how to measure for a dress shirt comes down to four numbers: neck, chest, sleeve, and waist. Get those right and you can order from any maker with confidence, whether it is a small-batch studio or a heritage brand. The main caution is simple: never measure over a bulky shirt or sweatshirt, or every number will come out too large.
Fast Answer
- Measure over
- a thin t-shirt or bare skin, never a hoodie
- Key numbers
- neck, chest, waist, and sleeve length
- Time needed
- 15-20 min
- Difficulty
- Easy
- Watch out for
- Measuring over thick clothing
Before You Start
- A soft measuring tape, the kind used for sewing, not a stiff metal tape measure.
- A friend to help, especially for sleeve and back measurements.
- A thin t-shirt you can tuck in, so the tape sits close to your body.
- A mirror, a notepad or phone for writing numbers down, and 15 quiet minutes.
- A dress shirt you already own and like, as a point of comparison.
Why Measuring Matters More Than Size Labels
Dress shirt sizing is not standardized the way you might expect. A "medium" from one maker can fit like a "large" from another. This is especially true with boutique and handmade shirts, where patterns are drafted by hand and a half inch of difference is intentional, not a mistake.
When you know your actual body measurements, you stop guessing. You can compare them to a maker's size chart, spot whether a shirt will pull at the chest or bunch at the waist, and decide between a ready-to-wear size and a made-to-measure option. That saves returns, saves money, and gets you a shirt that actually fits your shoulders.
Take your time with this. A few careful minutes here will pay off every time you button up.
Step-by-Step Instructions
-
Set Your Base Layer and Posture
Put on a thin, fitted t-shirt or stand in your usual undergarments. Stand tall with your feet together, arms relaxed at your sides, and breathe normally. Do not suck in your stomach or puff out your chest. Ask your helper to stand behind or beside you so they can read the tape without you twisting.
Tip: Tie a piece of string or ribbon around your natural waist as a guide. It gives your helper a fixed line to aim for during the waist and shirt-length steps.
-
Measure Your Neck
Wrap the soft tape around the base of your neck, right where the collar of a shirt would sit. Keep the tape level all the way around, not tilted up at the back. Place one finger between the tape and your neck before you read the number. This finger gives the comfort ease a finished collar needs so you can swallow and turn your head without choking.
Write down the number in inches. If you are between sizes, round up to the nearest half inch, since collars are usually sold in half-inch steps.
-
Measure Your Chest
Run the tape around the fullest part of your chest, usually right across the nipples. Keep the tape parallel to the floor and snug, but not tight enough to press into your body. Your arms should stay relaxed at your sides so the shoulder blades are not pulled back.
Read the number at the point where the tape meets itself in front. For most people, this is the single most useful number for choosing a shirt size. If your chest measures 40 inches, you will usually look at a maker's medium or a 15.5 neck size, depending on their chart.
-
Measure Your Waist
Find your natural waist, the narrowest point of your torso, which sits above your belly button and below your ribs. If you used the string trick, this is where it sits. Wrap the tape around this line, keeping it level and snug against your base layer.
Do not measure over a belt or waistband. Breathe out normally before you read the number. This measurement tells the maker how much taper to build into the shirt so it does not balloon out at the back.
Tip: If your waist and chest are close in size, a slim or tailored fit will look cleaner. If the difference is larger, an athletic or classic fit drapes better through the middle.
-
Measure Your Sleeve Length
There are two ways to do this, and it helps to know both. The first is the classic method: place one end of the tape at the bone at the back of your neck, at the base of the collar. Run it over the top of your shoulder, down the outside of your slightly bent arm, and stop at the wrist bone. This gives your full sleeve length, usually written as a number like 34 inches.
The second method measures from your shoulder seam to your wrist bone. This is useful when a maker lists sleeve length separately from neck size. Have your helper read the tape while your arm stays relaxed at your side with a slight bend at the elbow.
-
Measure Shoulder Width and Shirt Length
For shoulder width, find the bony point at the outer edge of each shoulder. Measure straight across the back from one point to the other. This number tells you whether a shirt's yoke will sit on your natural shoulder line or slip off.
For shirt length, start at the highest point of your shoulder, near the base of the neck, and measure straight down the front to where you want the hem to end. For a shirt you plan to tuck, aim for 2 to 3 inches below the waistband. For an untucked shirt, stop at roughly mid-fly level for a modern look.
-
Compare With a Shirt You Already Own
Lay your best-fitting dress shirt flat on a bed or table. Button it up. Measure across the chest from one armpit seam to the other, then double that number to compare with your body chest measurement. Measure the collar from the center of the button to the far end of the buttonhole, and measure the sleeve from the shoulder seam to the cuff edge.
This step is the reality check. If the flat measurements match your body numbers plus the ease you want, you know the maker's size chart is likely to work for you.
Tip: Take a photo of the flat shirt with the tape laid across it. It is an easy reference when you shop a maker's site later.
-
Record Everything and Note Your Fit Preference
Write all your numbers in one place, along with the date. Bodies change slowly, so remeasure every six to twelve months or after any major weight shift. Next to each number, note whether you like your shirts close to the body or with room to move.
This record turns a confusing size chart into a simple matching game. When a maker lists a chest measurement of 44 inches on their medium, you can decide in seconds whether that is right for you.
Quick Reference
| Use this | Why | |
|---|---|---|
| No helper available | Measure a shirt you already own, laid flat | Flat measurements are easy to take alone and compare well to size charts |
| Numbers land between two sizes | Size up, then have a tailor take in the waist | Chest and shoulders are hard to alter, but waist taper is simple |
| Shirt is for tucking in | Add 2 to 3 inches below the waistband for length | Keeps the shirt from pulling out when you move |
| Shirt is for wearing untucked | Stop the hem near mid-fly | Gives a clean, balanced line without extra fabric |
| Broad chest, narrow waist | Look for athletic or tailored fits | These cuts add taper so the shirt does not billow |
| Boutique or handmade maker | Send your actual body measurements, not a size label | Small studios often draft to your numbers directly |
Common Problems When You Measure for a Dress Shirt
Even careful people run into the same handful of issues. Here is what tends to go wrong and how to fix it.
- The tape is tilted. A tape that rides up at the back will read too large. Step in front of a mirror and check that the tape is level all the way around before you read the number.
- Measuring over thick clothing. A hoodie can add 1 to 2 inches to your chest and waist. Always measure over a thin base layer.
- Pulling the tape too tight. A tape that digs in gives a number that is too small, and the finished shirt will feel restrictive. Snug is enough.
- Guessing the sleeve length. Sleeves that end above the wrist bone look short, and ones that cover the hand look sloppy. Measure to the wrist bone, where the thumb meets the arm.
- Trusting a single size label. Compare your numbers to the maker's specific chart every time. A "large" is not a universal measurement.
- Forgetting shrink and fabric behavior. Cotton and linen can shrink slightly after washing, especially if they are not pre-shrunk. Ask the maker whether their fabric is pre-shrunk, and if in doubt, leave a little room in the chest.
If a shirt arrives and the neck fits but the body does not, a tailor can usually fix the waist and sleeves for a modest fee. Fixing the neck or shoulders is much harder and rarely worth it.
Advanced Tips for Measuring a Dress Shirt
Once the basics are solid, these details separate a good fit from a great one.
- Measure for the collar you will actually wear. If you plan to button the top button with a tie, keep that finger of ease. If you never button it, you can go a half inch smaller for a cleaner look.
- Check your posture at the end of the day. Shoulders tend to relax as the day goes on. Measure in the evening if you want a truer, more relaxed number.
- Note your wrist size. A well-made shirt has a cuff that closes comfortably, usually with room for a watch or a slim bracelet. Measure your wrist and add half an inch for comfort.
- Ask about the yoke. On boutique shirts, the yoke is the panel across the upper back. A maker who asks for shoulder width is paying attention to fit, which is a good sign.
- Keep a fabric note. Oxford cloth is sturdy and shrinks little. Poplin is smooth. Linen wrinkles and can shrink more. Your measurements may need a touch more ease in looser weaves.
- Re-measure after tailoring. If you have a shirt altered, measure the altered shirt flat and note the new numbers. Those become your best reference for that maker.
If you are ordering from a small studio that offers made-to-measure shirts, ask whether they want body measurements or finished garment measurements. They are not the same thing, and sending the wrong set is the most common order mistake.
Common Issues
If the result is not working as expected, return to the previous step, check the material or setting involved, and make one adjustment at a time for dress shirt how to measure.
Final Checklist for Measuring a Dress Shirt
- Wear a thin base layer, not a bulky top.
- Stand tall and breathe normally.
- Neck measured at the collar line, with one finger of ease.
- Chest measured at the fullest point, tape level.
- Waist measured at the natural waistline, above the navel.
- Sleeve measured to the wrist bone, arm relaxed.
- Shoulder width and shirt length recorded for the fit you want.
- Numbers compared against a shirt you already own.
- All measurements written down with today's date.
- Size chart checked again before you order.
Your next step: keep that measurement card in your phone notes or a small notebook. The next time a boutique shirt catches your eye, you will know in under a minute whether it will fit, and you can spend your energy choosing the fabric and the maker instead.
Dress Shirt How To Measure FAQ
Do I measure over clothes or bare skin?
Measure over a thin t-shirt or your usual undergarments. This keeps the tape close to your body and gives a number you can use with a size chart or a tailor.
Can I measure myself without help?
You can, but the chest, waist, and sleeve are easier with a helper. If you are alone, measure a shirt you already own and like, laid flat, and compare those numbers to the maker's chart.
What is the most important measurement?
Chest comes first, because it decides the overall size. Neck is the key number for dress shirts worn with a tie, and sleeve length decides whether the fit looks polished.
Should I add extra room to my numbers?
No, not to your body measurements. The maker adds ease in the pattern. Only add a finger of space at the neck, and measure your wrist with a little room for comfort.
What if I am between two sizes?
Size up and have the waist taken in if needed. Chest and shoulder alterations are costly, so it is better to start with a shirt that fits there.
How often should I re-measure?
Every six to twelve months, or after any change in weight or fitness. Keep your numbers written down with the date so you always know how current they are.
Related articles

High Heels How To Walk
A practical step-by-step guide to high heels how to walk, including preparation, instructions, common issues, tips, and next steps.
How To Dress For Your Body Type
A practical step-by-step guide to how to dress for your body type, including preparation, instructions, common issues, tips, and next steps.

How To Style A Jean Jacket
A practical step-by-step guide to how to style a jean jacket, including preparation, instructions, common issues, tips, and next steps.