
How To Dress For Your Body Type
A practical step-by-step guide to how to dress for your body type, including preparation, instructions, common issues, tips, and next steps.
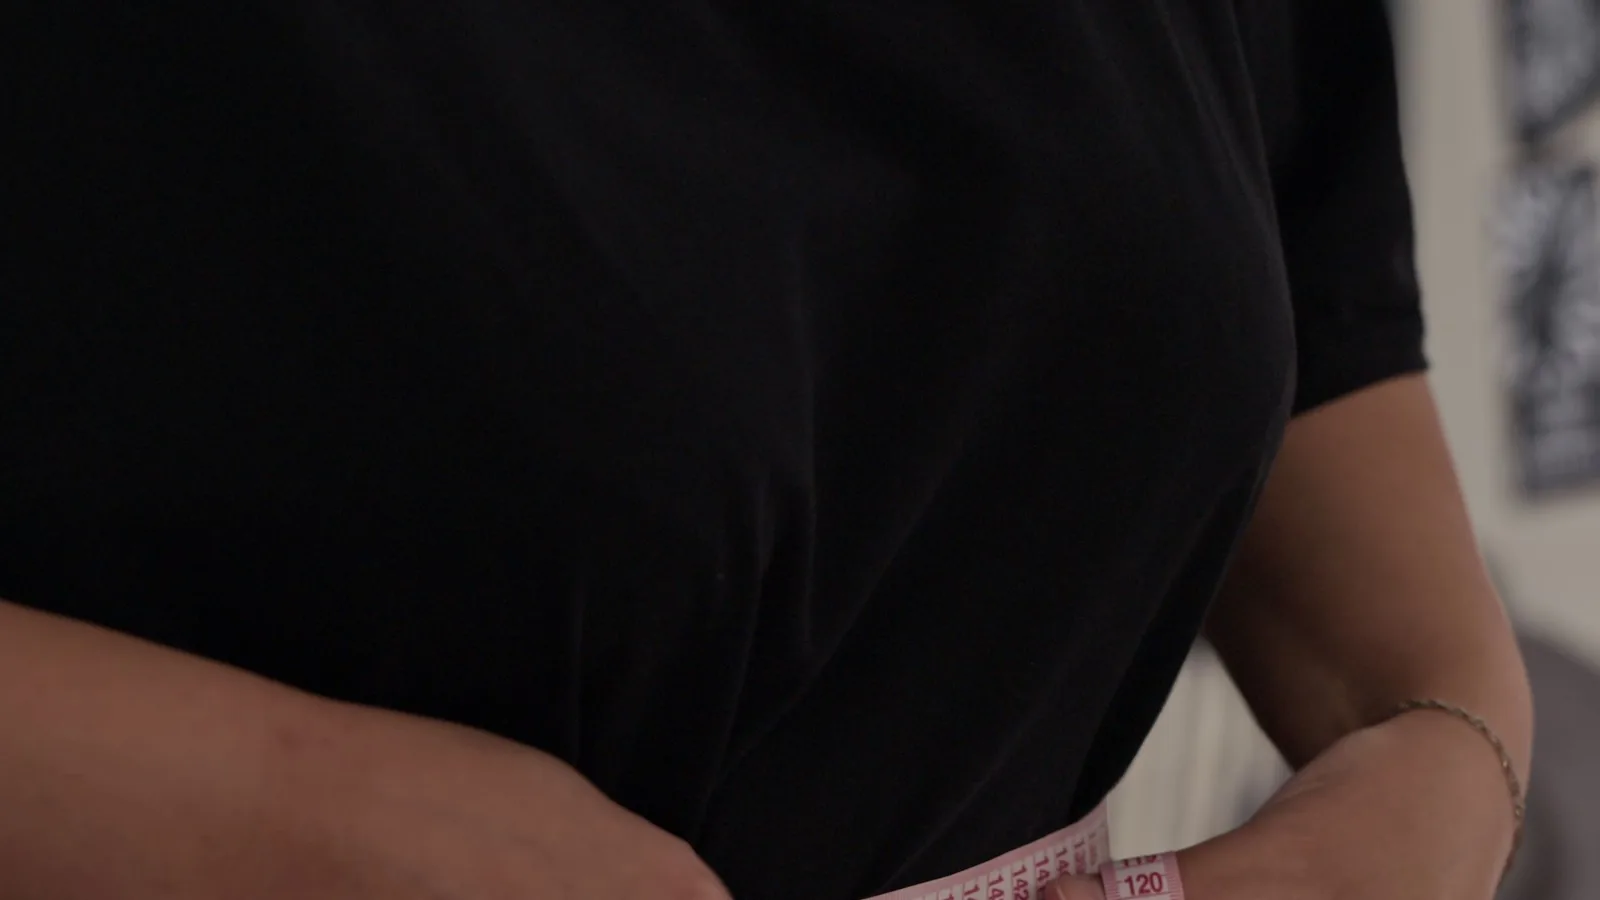
Dressing for your body type means learning your real measurements, finding the cuts that balance your shape, and ignoring size labels. The payoff is a closet where more pieces actually fit and flatter. The main caution: body type is a styling shortcut, not a rulebook, so treat every guideline as a starting point you test on your own body.
Fast Answer
- Start with
- Measure your bust, waist, and hips in inches, then compare the ratios.
- Remember
- Fit the widest part of you first, then tailor the rest.
- Time needed
- 60-90 min
- Difficulty
- Easy
- Watch out for
- Size labels
Before You Start
- A soft measuring tape, ideally the flexible kind used for sewing.
- A full-length mirror and good lighting so you can see how clothes sit on your frame.
- A plain fitted top and leggings or a slip dress to measure over, not bulky layers.
- A notebook or phone note to record your numbers and the fit notes that follow.
- A budget plan. Tailoring costs money, and a $20 alteration can save a $90 jacket.
Step-by-Step Instructions
-
Take Your Three Core Measurements
Measure your bust at the fullest point, your waist at the narrowest point (usually just above the belly button), and your hips at the widest point. Keep the tape level and snug but not tight. Write the numbers down in inches.
Do this over light clothing or in your undergarments. A thick sweater can add two or more inches and throw off every decision that follows.
Tip: Measure twice on different days. Hormones, bloating, and time of day change your numbers by an inch or more.
-
Compare Your Ratios, Not Your Size
Divide your waist by your bust and your waist by your hips. If your shoulders and hips are close in width, you may be a rectangle. If your waist is much narrower than both, you may be an hourglass or pear. If your bust is the widest area, you may be an inverted triangle.
Most people do not fit one shape perfectly. That is normal. Pick the two shapes that describe you best and use those as your guide.
-
Identify Your Shape in Plain Terms
Rectangle: shoulders, waist, and hips are similar in width. Pear (triangle): hips are wider than shoulders. Inverted triangle: shoulders or bust are wider than hips. Hourglass: bust and hips are close, with a clear waist. Apple (round): the midsection is the fullest area. These five cover most bodies, and you can hold more than one.
If you are between shapes, look at where your weight sits first. That tells you which area needs the most fit attention.
-
Audit What Already Works
Pull out five outfits you actually wear and feel good in. Lay them flat and look for patterns: the same neckline, the same rise, the same hem length. Your best clothes already tell you what your body likes.
Then make a small pile of pieces that never get worn. Note why. Tight shoulders, gaping waistbands, and awkward hems are common clues.
Tip: Photograph your five best outfits. The photos become a visual cheat sheet for future shopping trips.
-
Learn the Fitting Rules for Your Shape
Rectangle: create curve with belted waists, peplums, and layered textures. Pear: add volume up top with boat necks, puff sleeves, and structured shoulders. Inverted triangle: balance with A-line skirts, wide-leg pants, and softer necklines. Hourglass: follow your waist with wrap tops, high-rise bottoms, and tailored seams. Apple: choose fluid fabrics, empire waistlines, and vertical details that elongate.
Read these as balance tools, not laws. The goal is to spread visual weight so your eye moves smoothly over the whole outfit.
-
Prioritize Fit at Your Widest Point
Buy for your largest measurement, then tailor down. If your hips are widest, size pants for your hips and take in the waist. If your shoulders are widest, buy jackets that fit your shoulders and adjust the body. This one habit prevents the most common fit frustration.
Check these spots before buying: shoulder seam sits at your shoulder edge, waistband does not gape or dig, and the hem breaks where you want it.
Check first: Never buy a garment that is too small based on the promise that it will stretch. Knit fabrics relax, but they rarely gain the inches you need.
-
Use Color, Print, and Fabric on Purpose
Darker colors and matte fabrics recede. Brighter colors, shine, and large prints draw the eye forward. Use that to place attention where you want it. Vertical lines, long necklaces, and open cardigans create length.
Fabric weight matters just as much. Crisp cotton and wool hold structure. Jersey and silk skim the body. Choose based on whether you want shape or drape.
-
Test the Outfit in Real Light
Put on the full outfit and check it in daylight, then sit, walk, and reach overhead. Fit problems show up in motion. Look for pulling, riding up, and gaping buttons.
If something only works when you stand perfectly still, it will not work in real life. Note the issue and fix it or return it.
Tip: Keep a small tailoring budget. A $15 hem or waist adjustment often turns a "maybe" into a favorite.
-
Build a Small Capsule That Fits Your Shape
Choose bottoms, tops, layers, and shoes that already suit your proportions. For example, a pear shape might start with high-rise straight jeans, a boat-neck top, and a structured jacket. An apple shape might start with a fluid midi dress, a long cardigan, and a V-neck top.
Aim for pieces that mix together in at least three combinations. Ten well-fitted pieces beat thirty that almost work.
-
Review, Adjust, and Repeat
Wear the outfits for a week and track what felt good. Add notes on length, rise, and sleeve fit. Over time, you will build a personal fit profile that is far more accurate than any size chart.
Re-measure every six months. Bodies shift, and your closet should shift with them.
Quick Reference
| Use this | Why | |
|---|---|---|
| Shoulders feel tight | Size up and tailor the body | Shoulder seams cannot be added easily |
| Waistband gapes | Take in the back waist or add a belt | Fixes a common pear and hourglass issue |
| Hips look wide in photos | Add shoulder detail or a longer jacket | Balances the top and bottom visually |
| Midsection is the focus | Choose fluid fabrics and V-necks | Creates vertical length and soft drape |
| You feel boxy | Add a defined waist or a wrap top | Reintroduces curve to a rectangle shape |
Common Problems When You Dress for Your Body Type
Fit problems repeat, which is good news. Once you know the fix, you can apply it to almost any garment.
- Clothes pull across the bust or back. The garment is too small at your widest point. Size up, then tailor the waist if needed.
- Pants gap at the waist but fit the hips. This is normal for pear and hourglass shapes. A tailor can take in the back waistband for a clean line.
- Dresses look shapeless. Add a belt, a wrap, or a structured layer. A straight dress on a rectangle body needs a little help to create curve.
- Jackets feel tight in the arms. Sleeve width is hard to alter. Look for stretch panels, drop shoulders, or a different brand cut.
- Long tops shorten your legs. Try a front tuck or a cropped hem. Showing your waistline changes your whole proportion.
- You keep buying the wrong size. Different brands use different size charts. Always check the brand's own measurements before ordering.
Advanced Tips for Dressing for Your Body Type
Once the basics fit, these details separate a good outfit from a great one.
- Use the rule of thirds. Divide your outfit into thirds with color blocks or hem lengths instead of splitting it in half.
- Match your shoe tone to your hem for length. A nude or matching shoe extends the visual line of your leg.
- Build shoulder structure if your hips are wider. A defined shoulder seam balances a pear shape quickly.
- Choose vertical seams over horizontal ones. Princess seams, long cardigans, and center-front buttons create a longer line.
- Buy the best fabric you can afford. Natural fibers and quality blends drape better and hold their shape longer than thin synthetics.
- Keep a fit journal. Note brand, size, and what you altered. It saves time and returns on every future purchase.
- Support independent makers. Small studios often offer custom sizing or free alterations, which can beat mass-market fit.
Common Issues
If the result is not working as expected, return to the previous step, check the material or setting involved, and make one adjustment at a time for how to dress for your body type.
Final Checklist for How To Dress For Your Body Type
- Measured bust, waist, and hips in inches.
- Recorded your shape or blend of shapes.
- Checked shoulder seam, waistband, and hem on each new piece.
- Bought for your widest point and planned tailoring for the rest.
- Tested outfits sitting, walking, and reaching.
- Built at least three mix-and-match outfits from what you own.
- Set a small tailoring budget for the season.
- Started a fit journal with brand, size, and alteration notes.
Next step: pick one outfit from your closet that never quite worked, apply one fix from this guide, and wear it this week. Small adjustments build a wardrobe that fits you, not a size label.
How To Dress For Your Body Type FAQ
What if I do not fit one body type?
Most people are a blend of two shapes. Pick the two that match you best and use their tips together. Nothing about this system is strict.
Do I have to follow every rule for my shape?
No. These are balance tools, not laws. If a piece makes you feel good and fits well, wear it. Comfort and confidence beat any guideline.
How often should I re-measure?
Every six months is a good habit, or any time your weight, fitness, or health changes. Your measurements are the foundation of every fit decision.
Is tailoring worth the cost?
Usually yes, if the garment fits your widest point and the fabric is quality. A small alteration often costs less than replacing the item.
Does dressing for your body type mean hiding parts of your body?
Not at all. The goal is to place attention where you want it and make your clothes fit with ease. You can highlight anything you like.
What size should I buy if I am between sizes?
Buy for your largest measurement and tailor down. It is much easier to take fabric in than to let it out.
Related articles
Dress Shirt How To Measure
A practical step-by-step guide to dress shirt how to measure, including preparation, instructions, common issues, tips, and next steps.

High Heels How To Walk
A practical step-by-step guide to high heels how to walk, including preparation, instructions, common issues, tips, and next steps.

How To Style A Jean Jacket
A practical step-by-step guide to how to style a jean jacket, including preparation, instructions, common issues, tips, and next steps.